

 Malvika
Are you ready to revolutionize how you transform your blog into engaging Twitter threads? Let’s dive into the exciting world of Langflow, a powerful, open-source, and Python-powered visual framework designed to simplify the creation of multi-agent and retrieval-augmented generation (RAG) AI applications. Langflow offers an intuitive drag-and-drop interface that allows developers to easily connect various AI components, such as language models and data sources, to build sophisticated AI workflows without extensive coding.
With Langflow, you can craft intelligent chatbots, analyze documents, generate compelling content, and even orchestrate complex multi-agent applications. Its user-friendly interface makes it accessible to both seasoned developers and newcomers to AI development. In this blog, we’ll explore how to leverage Langflow’s capabilities to create a Twitter thread generator that can summarize your blog posts into engaging tweets, complete with links to drive traffic back to your full content.
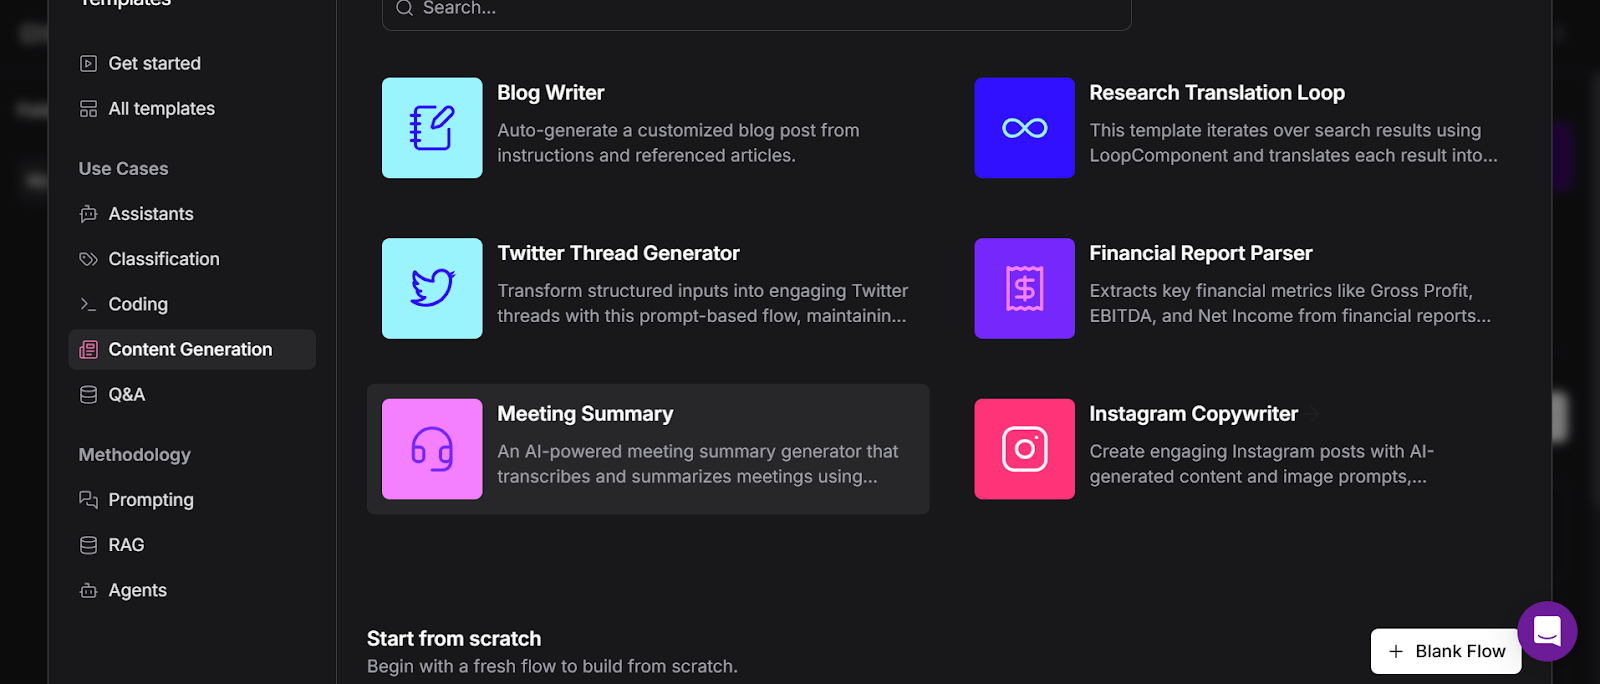
Step 1: Setting Up Your Project in Langflow
- Open Langflow in your web browser and sign up for free.
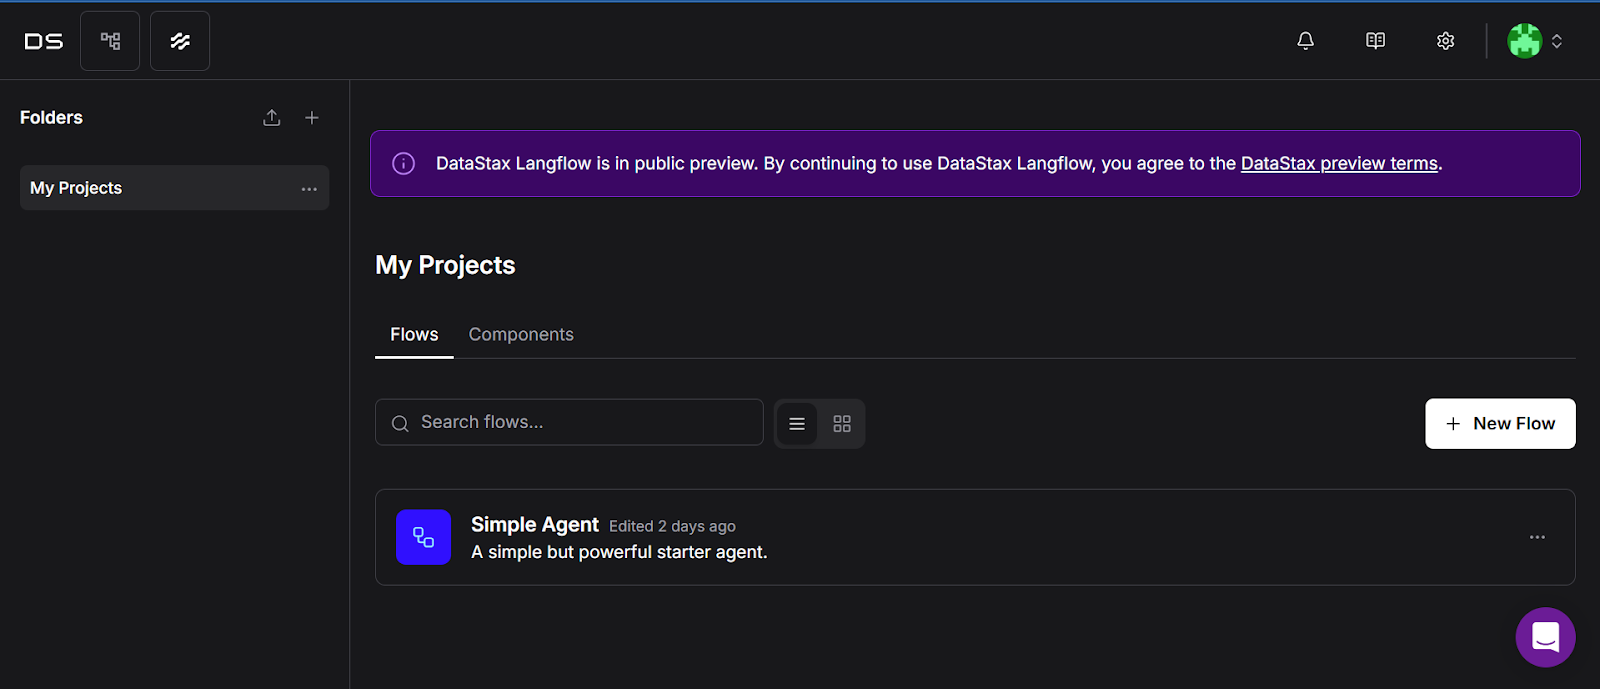
- Click the “New Flow” button and select “Twitter Thread Generator” from ‘Content Generation’ on the sidebar.
Step 2: Understanding the Components
You will see a playground of existing components.
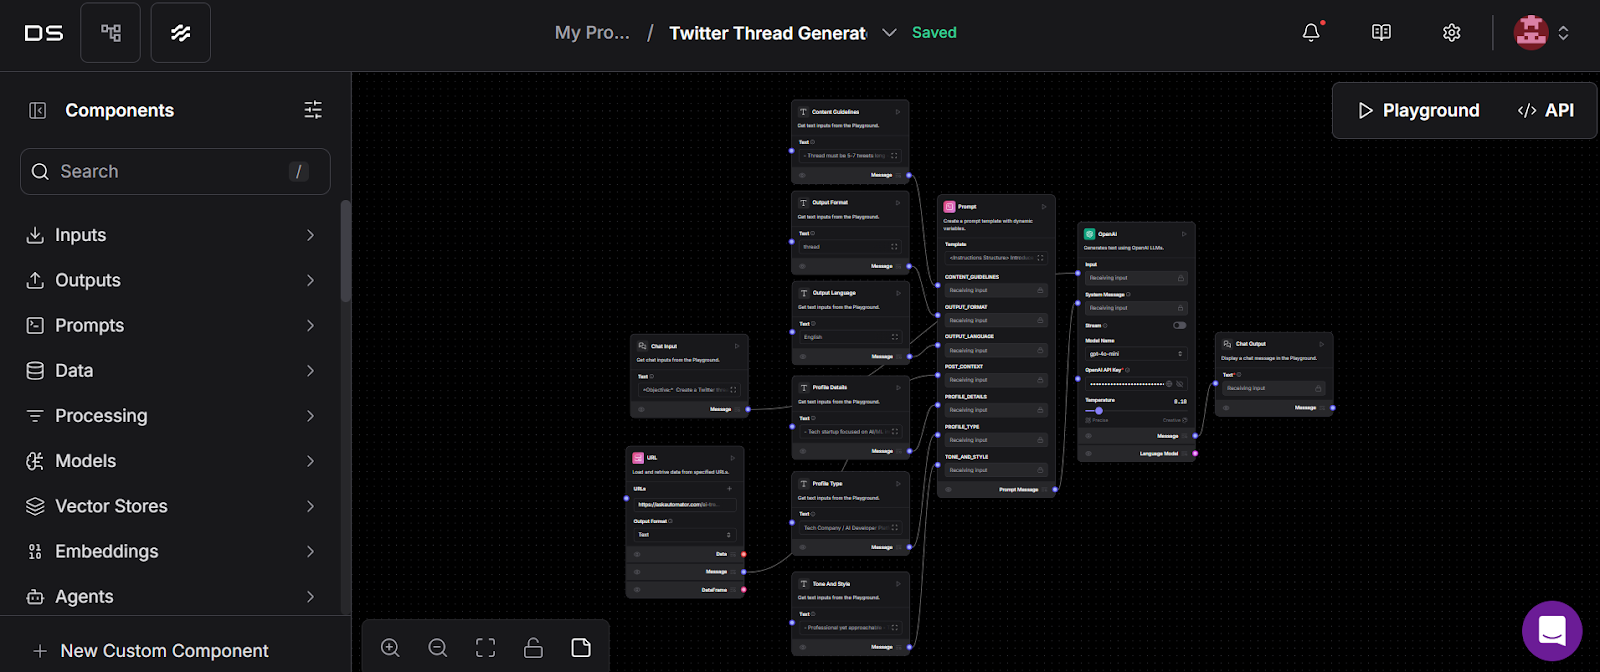
- Chat input: This component accepts multiple input types, including text, files, and metadata. It returns a Message object containing the input text along with sender information, session ID, and file attachments, providing an interactive chat interface in the Playground.
- Chat Output: This component creates a Message object that includes the input text, sender information, session ID, and styling properties. It can optionally store the message in a chat history
- Prompt Component: While not explicitly detailed in the search results, prompts in Langflow are typically used to provide initial input or context for other components, helping guide the flow of information.
- OpenAI Component: Langflow allows integration with external AI services like OpenAI, but specific details about an “OpenAI Component” are not provided in the search results. Generally, such components would enable interactions with OpenAI models for tasks like text generation or analysis.
And more components such as content guidelines, output format, output language, profile details, profile type and tone and style– describing how the tweet should be displayed.
Step 3: Connecting the Components
Before connecting the components, ensure that you have added your OpenAI API key in the openAI component.
- Connect content guidelines, output format, output language, profile details, profile type and tone and style to its respective field in the prompt component.
- Connect the Chat input component to the input field of OpenAI component.
- Connect the prompt component to the system message field in the OpenAI component.
- Connect “Message” of the OpenAI component to the chat output component, and done!
Now you can add your blog into the Chat input component and run the playground, you’ll get your twitter thread within seconds.
Step 4: Adding a URL Component
If you want to summarize your blog into tweets and include a link to the full blog post, you can add a URL Component. Here’s how:
- Add a URL Component.
- Insert the blog link in the ‘URLs’ field.
- Go to the code tab of prompt component and create another field called ‘POST_CONTEXT’
- Connect Message of URL component to ‘POST_CONTEXT’, and now you can access the blog through its URL.
After execution, your tweet might look something like this:
“🚀 Excited to share how to create impactful Twitter threads using Langflow! 🧵 In this thread, I’ll guide you through the steps to set up your first thread and maximize engagement. Let’s dive in! #Langflow #TwitterThreads”
Here are some Chat input prompt examples and templates that can help you get started:
Examples
- “Create a Twitter thread of 5 tweets about the benefits of using Langflow for AI content generation. Include tips for beginners and advanced users along with relevant tags.”
- “Generate a Twitter thread of 7 tweets summarizing the latest features of Langflow and how they can enhance productivity for content creators along with tags.”
- “Create a Twitter thread of 5 tweets that explains how to integrate Langflow with other tools for seamless content creation. Include practical examples and user testimonials along with relevant tags.”
Templates
- “Draft a Twitter thread on [TOPIC] that highlights [SPECIFIC POINTS] and encourages engagement with questions or calls to action.”
- “Write a Twitter thread discussing [TOPIC] with a focus on [KEY ASPECTS]. Make sure to include examples and actionable insights.”
- “Compose a Twitter thread about [TOPIC] that outlines [STEPS/PROCESS] and provides [TIPS/RESOURCES] to help followers implement the ideas effectively.”
Make sure to include in your content guidelines that each tweet should be limited to 280 characters.
Conclusion
With these steps, you’ve successfully created a Twitter thread generator in Langflow! This tool not only helps you break down your blog into engaging tweets but also allows you to include links to drive traffic back to your full content.
